|
oVirt 4.1 : Create Virtual Machine
2015/07/12 |
|
Create Virtual Machine on oVirt Admin Portal.
This example is based on the environment below.
                                        +----------------------+
                               10.0.0.30| [ oVirt Management ] |
                                  +-----+    dlp.srv.world     |
+-----------------+               |     |                      |
|                 |10.0.0.100     |     +----------------------+
| Client Computer |---------------+
|                 |               |     +----------------------+
+-----------------+               |     |    [ oVirt Node ]    |
                                  +-----+   node01.srv.world   |
                               10.0.0.51|                      |
                                        +----------------------+
|
| [1] | Download ISO file you'd like to install for guestOS on oVirt admin Server. Next, upload it like follows. |
|
# command : engine-iso-uploader -i [ISO Domain] upload [ISO File] [root@dlp ~]# engine-iso-uploader -i ISO_DOMAIN upload /tmp/CentOS-7-x86_64-DVD-1611.iso Please provide the REST API password for the admin@internal oVirt Engine user (CTRL+D to abort): # oVirt admin password INFO: Start uploading /tmp/CentOS-7-x86_64-DVD-1611.iso Uploading: [########################################] 100% INFO: /tmp/CentOS-7-x86_64-DVD-1611.iso uploaded successfully |
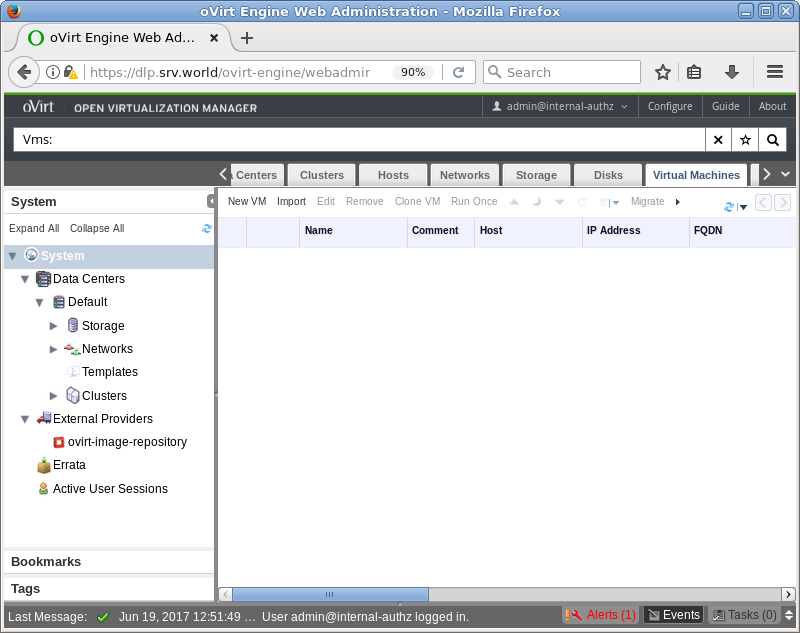
| [2] | Access to oVirt Adminr Portal and move to [Virtual Machine] tab and click [New VM]. |
|
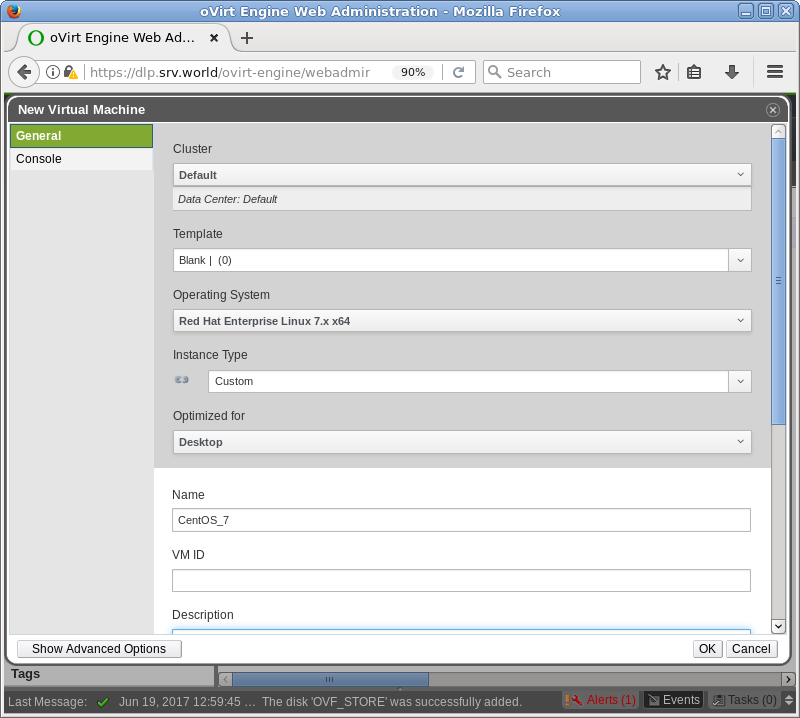
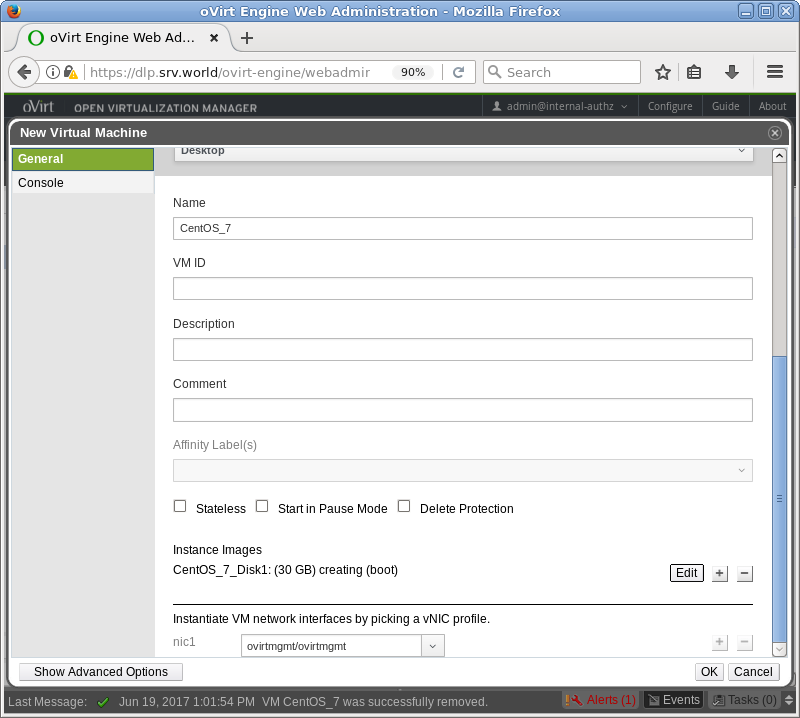
| [3] | Input values for virtual machine you'd like to create. |
|
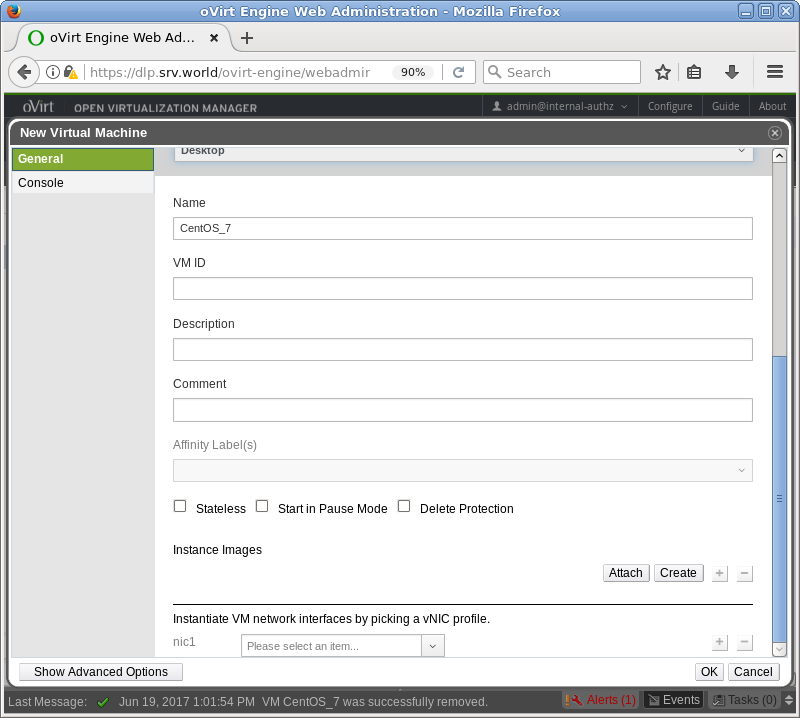
| [4] | Scroll down the screen and for [Instance Images] section, click [Create] button to create virtual disks for VM. |
|
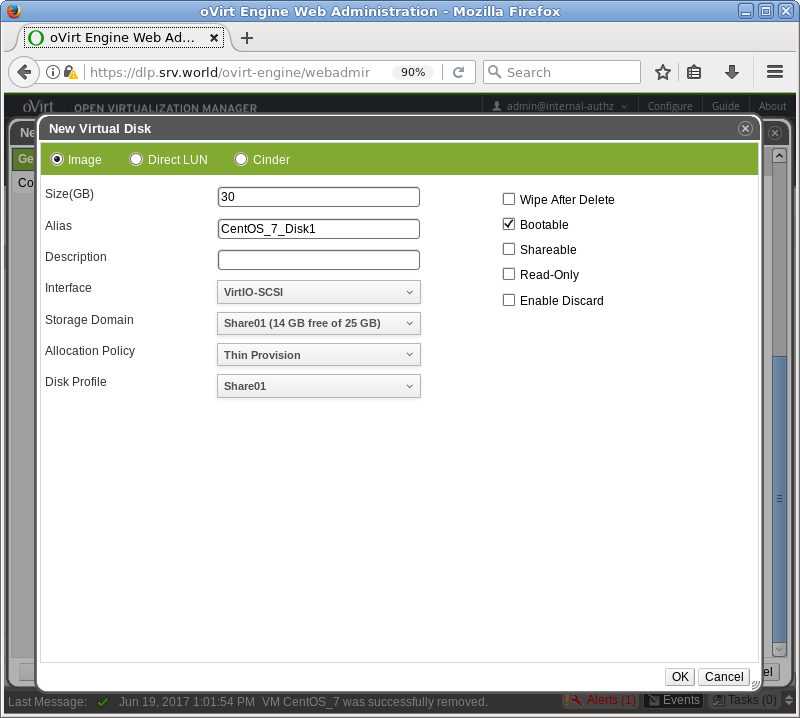
| [5] | Input values for virtual disks and click OK. |
|
| [6] | For [nic1] section on the bottom, select network interface like follows for VM to connect to network. It's OK all, click [OK] button to finish. |
|
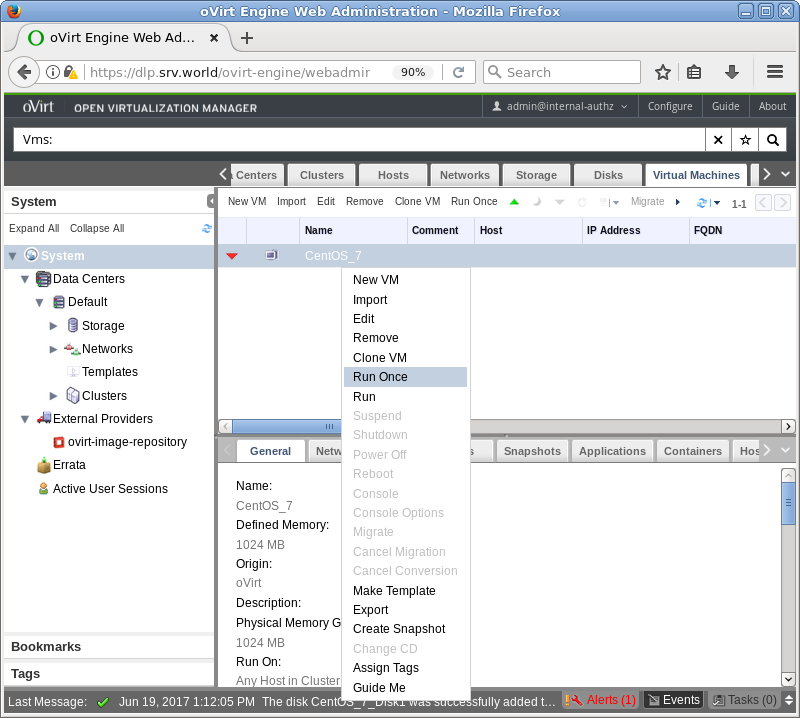
| [7] | Right-Click the VM and select [Run Once] to boot VM. |
|
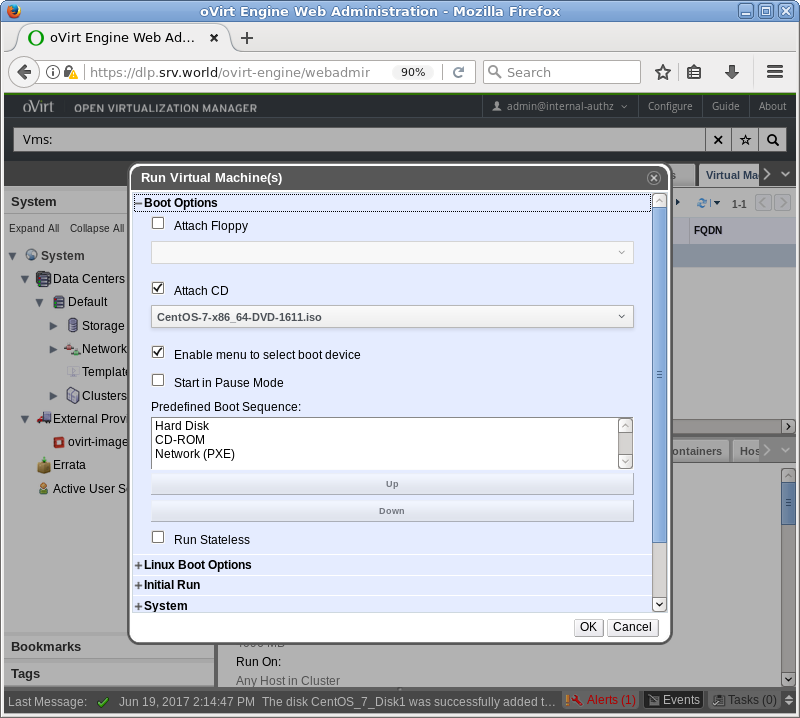
| [8] | For initial boot, check a box [Attach CD] and select ISO image to install OS. |
|
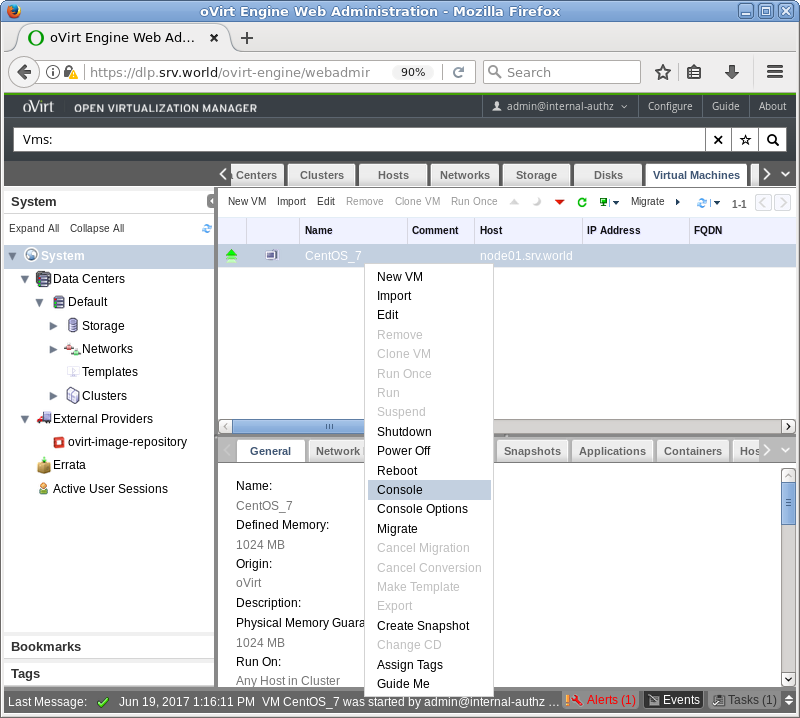
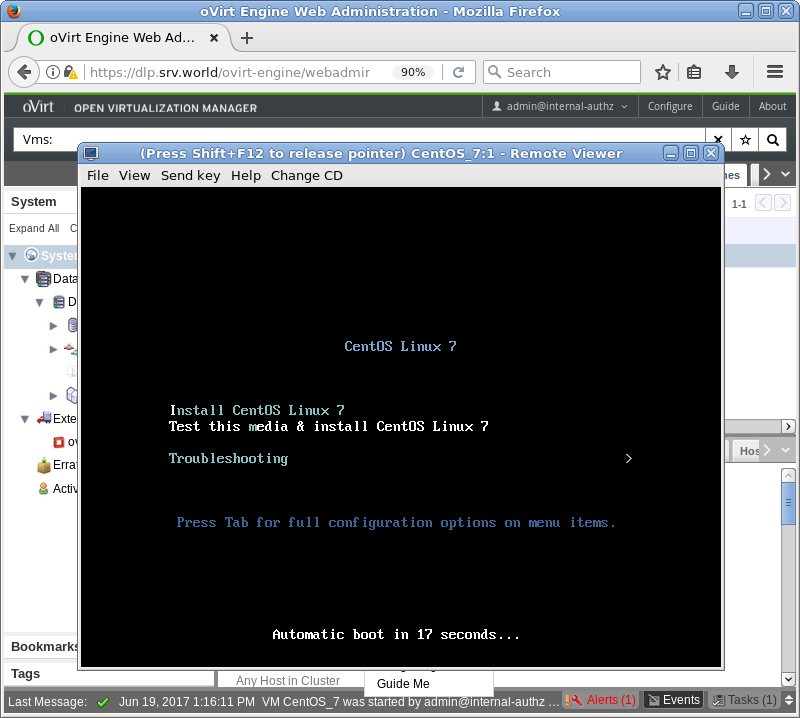
| [9] | Right-Click the VM and select [Console] to connect to VM's console. |
|
| [10] | The console screen of Virtual Machine is displayed, proceed to install. |
|
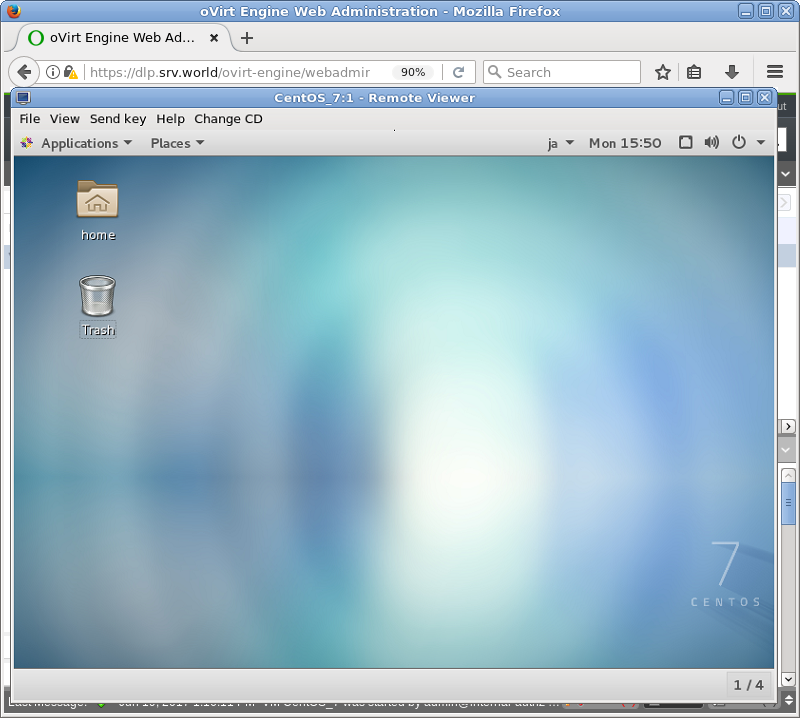
| [11] | Installation finished and Virtual Machine is running now. |
|